

If your vehicle’s illumination units exhibit erratic behavior, inspecting the wiring connections should be your first step. Loose or corroded connectors can disrupt the current flow, resulting in inconsistent lighting. This simple fix often solves the problem without necessitating extensive repairs.
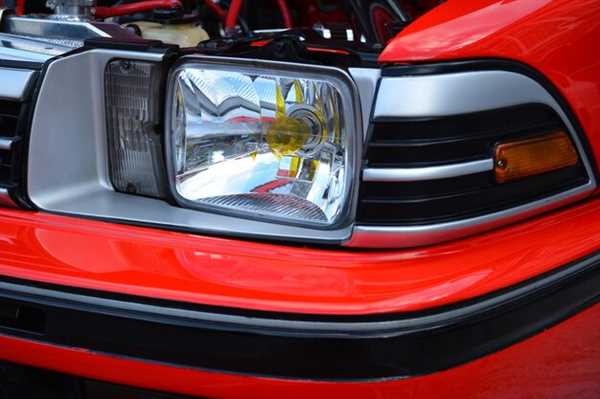
Next, check the bulbs themselves. A failing lamp may flicker before burning out completely. Replace any dim or inconsistent bulbs with high-quality alternatives to maintain optimal performance. Upgrading to LED options can also enhance brightness and longevity.
Investigating the electrical system is crucial. A faulty alternator may cause voltage fluctuations, impacting the stability of your headlights. Testing the voltage output with a multimeter can help diagnose this issue. If irregular readings are found, consider consulting a technician for appropriate measures.
Lastly, ensure that your vehicle’s grounding is secure. A poor ground connection can lead to various electrical anomalies, including inconsistent headlight functionality. Cleaning ground points and ensuring they are tightly connected can prevent recurrent issues and enhance overall lighting reliability.
Common Causes of Headlight Flickering in Vehicles
Loose connections play a significant role in causing intermittent illumination in vehicle lights. Inspect all wiring, connectors, and terminals to ensure a secure fit.
Faulty relays can disrupt electrical flow, leading to unstable lighting. Regularly check relays associated with the lighting system for functionality.
Voltage fluctuations from the alternator may result in inconsistent brightness. Test the alternator’s output, ensuring it operates within specified limits.
Corroded grounds can impede electrical current, causing dim or flickering lamps. Clean ground connections to maintain optimal conductivity.
Worn or damaged bulbs may produce erratic light patterns. Replace any bulbs showing signs of wear to restore consistent performance.
Aftermarket modifications, especially those involving the electrical system, can introduce complications. Maintain original specifications to mitigate potential issues.
Lastly, battery condition is crucial. A weak or failing battery can create unstable power supply, affecting lighting consistency. Conduct regular battery maintenance checks.
Step-by-Step Guide to Diagnose Headlight Issues

Check Voltage Levels: Use a multimeter to assess the voltage at the headlight socket. A reading below 12 volts indicates insufficient power, which could be due to corroded connections or damaged wiring.
Inspect Wiring Connections: Examine the wiring harness for any signs of wear, fraying, or corrosion. Ensure all connectors are seated properly and free of dirt. Clean any corrosion with an appropriate electrical contact cleaner.
Test Bulbs: Remove the headlights and inspect the bulbs for breakage or discoloration. Swap in a known working bulb to see if the issue persists. If brightness changes, replace the faulty bulb.
Evaluate Ground Connections: A poor ground can cause flickering. Locate the ground wire for the headlights and ensure it is securely attached to the vehicle frame. Clean the ground point to eliminate any oxidation.
Check the Relay: Listen for clicking sounds from the headlight relay when activating the headlights. Replace the relay if it feels warm or shows signs of malfunction.
Assess the Switch: Inspect the headlight switch on the dashboard for functionality. If the switch feels loose or exhibits intermittent connectivity, it may require replacement.
Conduct a Load Test: With the headlights on, perform a load test to measure current draw. Compare readings to manufacturer specifications to determine if there’s an overload condition.
Examine Fuse Integrity: Check the fuse associated with the headlights in the fuse box. A blown fuse could indicate an electrical fault elsewhere in the circuit.
Inspect Battery Condition: A weakened battery can impact headlight operation. Test the battery’s voltage and connections to ensure optimal performance.
Best Practices for Repairing Flickering Headlights
Begin with inspecting the wiring harness for any signs of wear or damage. A frayed wire can lead to inconsistent connectivity, causing the illumination to act unpredictably.
Check the bulb connections; ensure they are tightly secured and free from corrosion. A loose or corroded connection can alter the electrical flow, resulting in variable brightness.
Evaluate the battery condition. An aging or weak battery may not provide sufficient power, leading to fluctuations. Replace if necessary to maintain steady voltage.
Examine the alternator output. A failing alternator can produce inadequate power levels. Verify its performance with a multimeter to determine if it meets the required specifications.
Inspect the ground connections. Poor grounding can create resistance, impacting the current delivered to the lighting systems. Clean and tighten any loose ground wires.
Consider replacing old or mismatched bulbs. Different types of bulbs may have varying voltage requirements, which could contribute to inconsistent performance.
For persistent issues, consult a professional technician. They can perform a thorough diagnostic to identify elusive electrical faults that may not be immediately visible.