Maintaining optimum performance of your vehicle’s stopping system is closely tied to the condition of the hydraulic substance. It’s critical to inspect this material at least every two years or according to the manufacturer’s recommendations. Contaminants can significantly reduce efficacy, leading to potential hazards on the road.
Fresh hydraulic liquid possesses specific properties that ensure effective transmission of force from the pedal to the calipers. Over time, moisture can accumulate, compromising these properties and resulting in diminished responsiveness. A simple check can help identify deterioration, indicating the need for replacement.
Monitoring the condition of this key component is not just advisable; it’s necessary for the longevity of critical components. Prioritize regular assessments to enhance not only your own safety but also that of other road users. Schedule an inspection during routine maintenance visits to ensure everything operates seamlessly.
Understanding the Importance of Brake Fluid Quality
Check the condition of your vehicle’s hydraulic solution every six months. High moisture content can compromise the performance, leading to potential failure. When the liquid absorbs water, its boiling point decreases, increasing the risk of vapor lock during sudden braking.
Inspect the liquid for clarity and color. Clean, transparent solutions indicate good quality, while dark or murky appearances suggest contamination. Change it if you observe any discoloration, as this can affect responsiveness.
Maintain consistent levels to ensure proper function. Low quantities can lead to air in the system, which diminishes pressure, posing safety threats. Always top up with the manufacturer-recommended type to avoid incompatibility issues.
Consider environmental conditions. If you drive in extremes, more frequent assessments may be necessary due to accelerated degradation under harsh climates. Adhering to maintenance schedules enhances longevity and reliability.
Signs That Indicate It’s Time for a Brake Fluid Change

Cloudy or Darkened Appearance: Transparency is a key quality of optimal hydraulic liquids. If the liquid appears murky or dark, it signals contamination and degradation. This change can diminish braking responsiveness.
Unusual Responses: If you notice inconsistency in pedal feel–such as a spongy sensation or excessive travel–it indicates the presence of air or moisture, rendering the hydraulic system ineffective.
Frequent Layering of Moisture: Accumulation of water can lead to increased corrosion within components. Regular inspection for moisture is recommended, as even small amounts can have detrimental effects.
Brake Warning Light Activation: Most vehicles feature an alert for hydraulic system issues. If this indicator illuminates, it’s time to assess the hydraulic liquid quality and level.
Age of the Liquid: Generally, it’s advisable to replace the hydraulic liquid every two years. If the last replacement was more than this timeframe ago, performing maintenance is crucial.
Brake Performance Reductions: If you experience longer stopping distances or diminished driver control, it may stem from compromised hydraulic components. Addressing liquid condition promptly can enhance performance.
Step-by-Step Guide to Changing Your Brake Fluid

Gather necessary tools: a wrench, a brake bleeder kit, a container for old liquid, new liquid, and a funnel. Make sure to select a compatible type of liquid based on your vehicle’s specifications.
Jack up the vehicle securely and remove the wheels for better access to the brake calipers. If you have a vehicle with a disc braking system, locate the brake bleeder valve.
Attach the brake bleeder kit to the valve. Ensure that the container is placed beneath to collect used material. This prevents spillage and keeps your workspace clean.
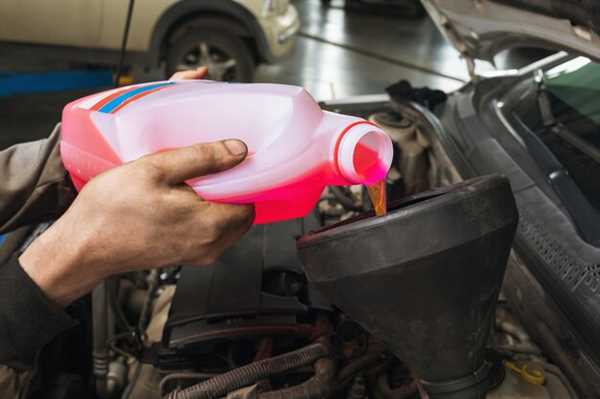
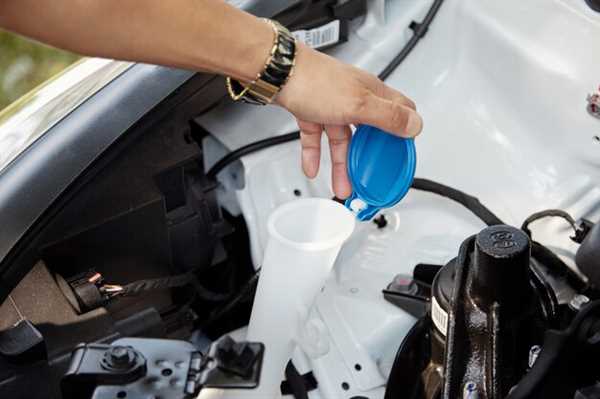
Remove the cap from the reservoir and use the funnel to pour in fresh liquid. Ensure the level remains above the minimum mark during the process.
Start bleeding the brake by having an assistant press the brake pedal. Open the bleeder valve while the pedal is pressed; liquid should flow into the container. Close the valve before your assistant releases the pedal to avoid air entering the system.
Repeat the bleeding process until the liquid flowing is clear and free of bubbles, indicating that all contaminated material has been expelled.
Check the reservoir level again and top up if necessary. Replace the cap securely.
Reinstall the wheels and lower the vehicle. Test the brakes gently to ensure functionality before taking your vehicle back on the road.
